For those people who sometimes work on music software for portable devices and dont want to work with large monitor headphones, but also dont want to write sequences for export into renoise that are not bassy enough and need to be adjusted because they have been working on ‘bass boost’ earbuds…which earbuds are the best for reference/monitoring?
Just to make sure the sequences exported dont need too much EQing or work on other things such as filtering or volume levels once they reach the computer.
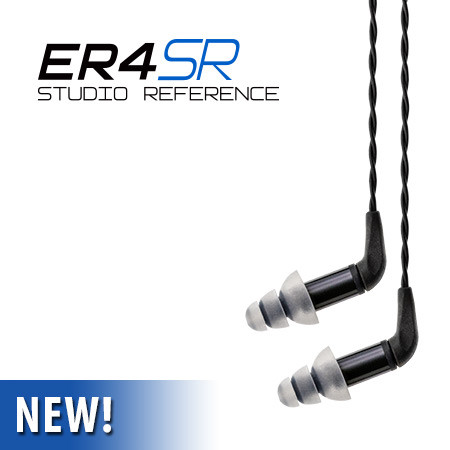
Seems like they are saying they are flat response from 100Hz to 10000Hz.
I guess this means they are not accurate from 10000Hz upwards?
They are not cheap. Any other good ones out there that people know of, or should I just save my money and use normal earbuds 20Hz-20000Hz frequency response with annoying bass boost, which will lead to not enough bass in sequences and songs?
(maybe its just that no earbuds so far are really flat response or good for monitoring, too small to accurately monitor bass frequencies)
You might be able to get around the boomy bass of typical earbuds using a good set of references tracks and maybe a spectrum analyzer.
Pretty much the same story with any headphones or monitors: Get to know them, get to know how well-produced music sounds on them, use good reference tracks, periodically check how things sound on other devices
Its alot to spend on earbuds just for the convenience of having something more accurate in the low end while making things on mobile devices. Maybe its a good idea to save money, use some shitty earbuds to write things on mobile devices when outside, but then use a reference track with the monitor headphones once back at the computer to EQ everything and get levels ‘right enough’ that the instruments frequencies fill similar parts of the spectrum to the reference tracks instruments. Im specifically thinking about Sunvox, PSPSEQ, LittleGameParkTracker, Gstomper and Nanoloop for gameboy DS (on nanoloop only for synthy drums or individual tones because no true BPM, but you can always cut things up in renoise i suppose).
There must be a physical problem that makes earbuds a bad choice for mixing and mastering. Probably they are just too small to reproduce low end sounds properly.
I watch a bunch of music gear review stuff online and they were even saying that monitor headphones are no good, best to use speakers. Unfortunately I dont really have that option. Its too loud, and anyway at some point there is always going to be something better like people who have ‘sound baffling’ or whatever on the walls and an ‘L shaped room’ to reduce reflections. I guess its always an option to pay for mastering (not that Im at the point where Im ready for that yet), but that will be expensive. It can be as much as $700 US for one track.
I know they just use izotope plugins and protools but they have all the nice speaker setup and everything to get it right. Thanks for the information. Ill probably save the money I was thinking of spending on ‘special earbuds’, although if the price came down I would buy them.
Yes, the physics of mixing on earbuds and headphones are not good. Aside from the speakers not being up to spec, for a tight mix, you want a room that diffuses sound. It seems like some software, made for headphone mixing, tries to emulate a room that diffuses sound, but its not the same thing… - at least not yet.
As for paying $700 a track for mastering… That’s crazy. Watch youtube videos, get Ozone or any equilevent.
I spent so many years mastering with nothing more than Renoise Eq and Stillwell Event Horizon… Then Renoise even made the native comp into a limiter… and Renoise adds dither and softclipping.
You can spend your entire learning curve years just using what’s in Renoise.
If you are doing something pro, and releasing that on a label, ok… different story. but even the biggest, most expensive mastering studios in the world are not using, “1 piece of outboard gear for vibe + Wavelab.”
Wavelab is like $500, and they charge you $700 a track? That’s crazy
The coolest thing about this: http://yoadnevo.com/recording-studio-london/
is not their gear list. Software can do all that. It is that the room is, “acoustically designed,” and silent… that’s what is $$$ and that is hard to do as a bedroom producer.
Yeah, that is a ‘super pro’ number one hit kind of mastering i guess. Like mastering in a professional studio probably involving all kinds of crazy stuff like playing things through certain amps into certain mics, in a special space, recording onto a certain kind of tape, before getting the audio back into protools and fixing it up even more with the best plugins, monitoring through the best possible speakers. Maybe it could even include crazy things like playing a recording or instrument through an amp at the bottom of a long spiral staircase and recording the sound coming out at the top (this is what i heard from an electric guitar guy).
Its cool that that studio has Casio SA-6, Casio VL Tone and Casio PT-20, more within my budget and cool for building renoise instruments from samples.
There must be places to get one track done for maybe $100-$150 US dollars somewhere.
Im not at the stage where Im ready for mastering myself but its interesting to find out.
For sure, there is so much to learn in renoise itself, with all the effects and tricks its enough to keep me occupied for a lifetime of experimentation, sampling, instrument building and composition.
Sorry I dont understand fully what happened with the native compressor? It seems to reduce volume, but when I render selection to wav, after normalizing there doesn’t seem to be any compression of the peaks. I can see the noise floor (from the dithering i think), after the quiet ‘compressed’ waveform has been normalized but the dynamics seem to be the same as before the compressor was used. The peaks look the same as before compression. This is the same for both compressor and bus compressor.
Im not too clear on dithering either but I understand its used when reducing audio quality from high to low, and that it adds a small ‘noise floor’ to a recording which allows for better rounding of values.
I think I can see the noise floor from dithering after the compressor has been applied and ive rendered selection to sample and normalized, but i dont why ‘dithering noise’ is added in this case if the audio quality has not been reduced.
Mastering does not include any of that. You are giving, “mastering,” way too much credit.
In 2020, “the most expensive mastering,” uses something like Wavelab to balance the tracks, and write the metadata. Depending on the engineer, there may be some outboard gear.
However, this is 2020, and even the most top of the line, top of the line audio engineer and producers have become ITB, “in the box.”
In fact, your best option for mastering, if you don’t want to do it yourself, is to join Soundcloud Pro, and get 3 mastered tracks a year for free… and I hear its $5.00 for each additional track. A DOLBY Machine Learning Algo does all the work…
You still need a tight a mix.
“Sorry I dont understand fully what happened with the native compressor?”
They added a hard limit function. It wasn’t like that in previous versions. I forget what version the limit function was added…
You can master a track in Renoise using a simple chain like this, and dropping your rendered mix into an XNRI…
Than using an open source software to write your metadata…
O.k cool, izotope ozone or steinberg wavelab is the way to go for professional mastering if you have the right studio monitor speakers, a mixing console and the right space which diffuses sound, plus money for the mastering software, a nice tower computer, audio interface and everything. Otherwise you can get the cheap mastering based on an algorithm like Landr or soundcloud too, once you have your mix nice in renoise first.
Otherwise, in renoise you can make things sound a little better with native EQ on the master track, maybe some other renoise effects, plus there are also expensive third party plugins like ‘vintage warmer’ vst effects and stuff like that.
The compressor in renoise doesnt seem to do anything other than lower the volume though as far as i can tell. Maybe I missed something about the renoise compressor. Cant really figure out why it doesnt squash the peaks.
But yeah, for sure you can make a track sound really decent enough with the right levels, EQing and all thats available in renoise only but its not going to be the same as paying for the proper mastering service from someone who does it professionally i guess. Not that Im good enough yet to be worried about mastering too much, but Im just gathering information about opinions. I guess its different when it comes to mastering things for CD, vinyl, youtube, cassette, cinema dolby surround…all the different formats.
But whats up with the renoise compressor, that is the thing i cant figure out why doesnt it squash the peaks? only lowers the volume?
I don’t see how you need a mixing console. You need one of these, “new and overpriced,” motorized fader things… “Maybe,” and that’ a big maybe. And you only need it for psychological reasons.
i think the maximizer should hard clip peaks while the compressor should ‘squash’ them but the compressor is only lowering volume for me.
It says in the manual
“A Compressor “squashes” an audio signal as it rises above a specific Threshold level, reducing its dynamic range and providing extra headroom for the signal to be boosted in volume after compression. This results in a “fattening” of the sound.”
The compressor isnt doing that for me, only lowering the volume.
I guess those professional studios use the big mixing desk with motorized faders to record bands as well, adjusting the levels of instruments while rehearsing before actual recording, taking note how all the equipment was set up, marking everything with masking tape on the mixer so that the next day they can come in everything will be ready to go, all faders in the right spot once you load something up…probably its quite nice for live fades and stuff too, quicker than by mouse alone.
I always thought it would be nice if there were motorized knobs and faders on synths as well…you could load up a patch and they would all return to where they were when you made the patch.
I wouldnt say I really know what im doing. Just gathering information about these things, slowly building some knowledge.
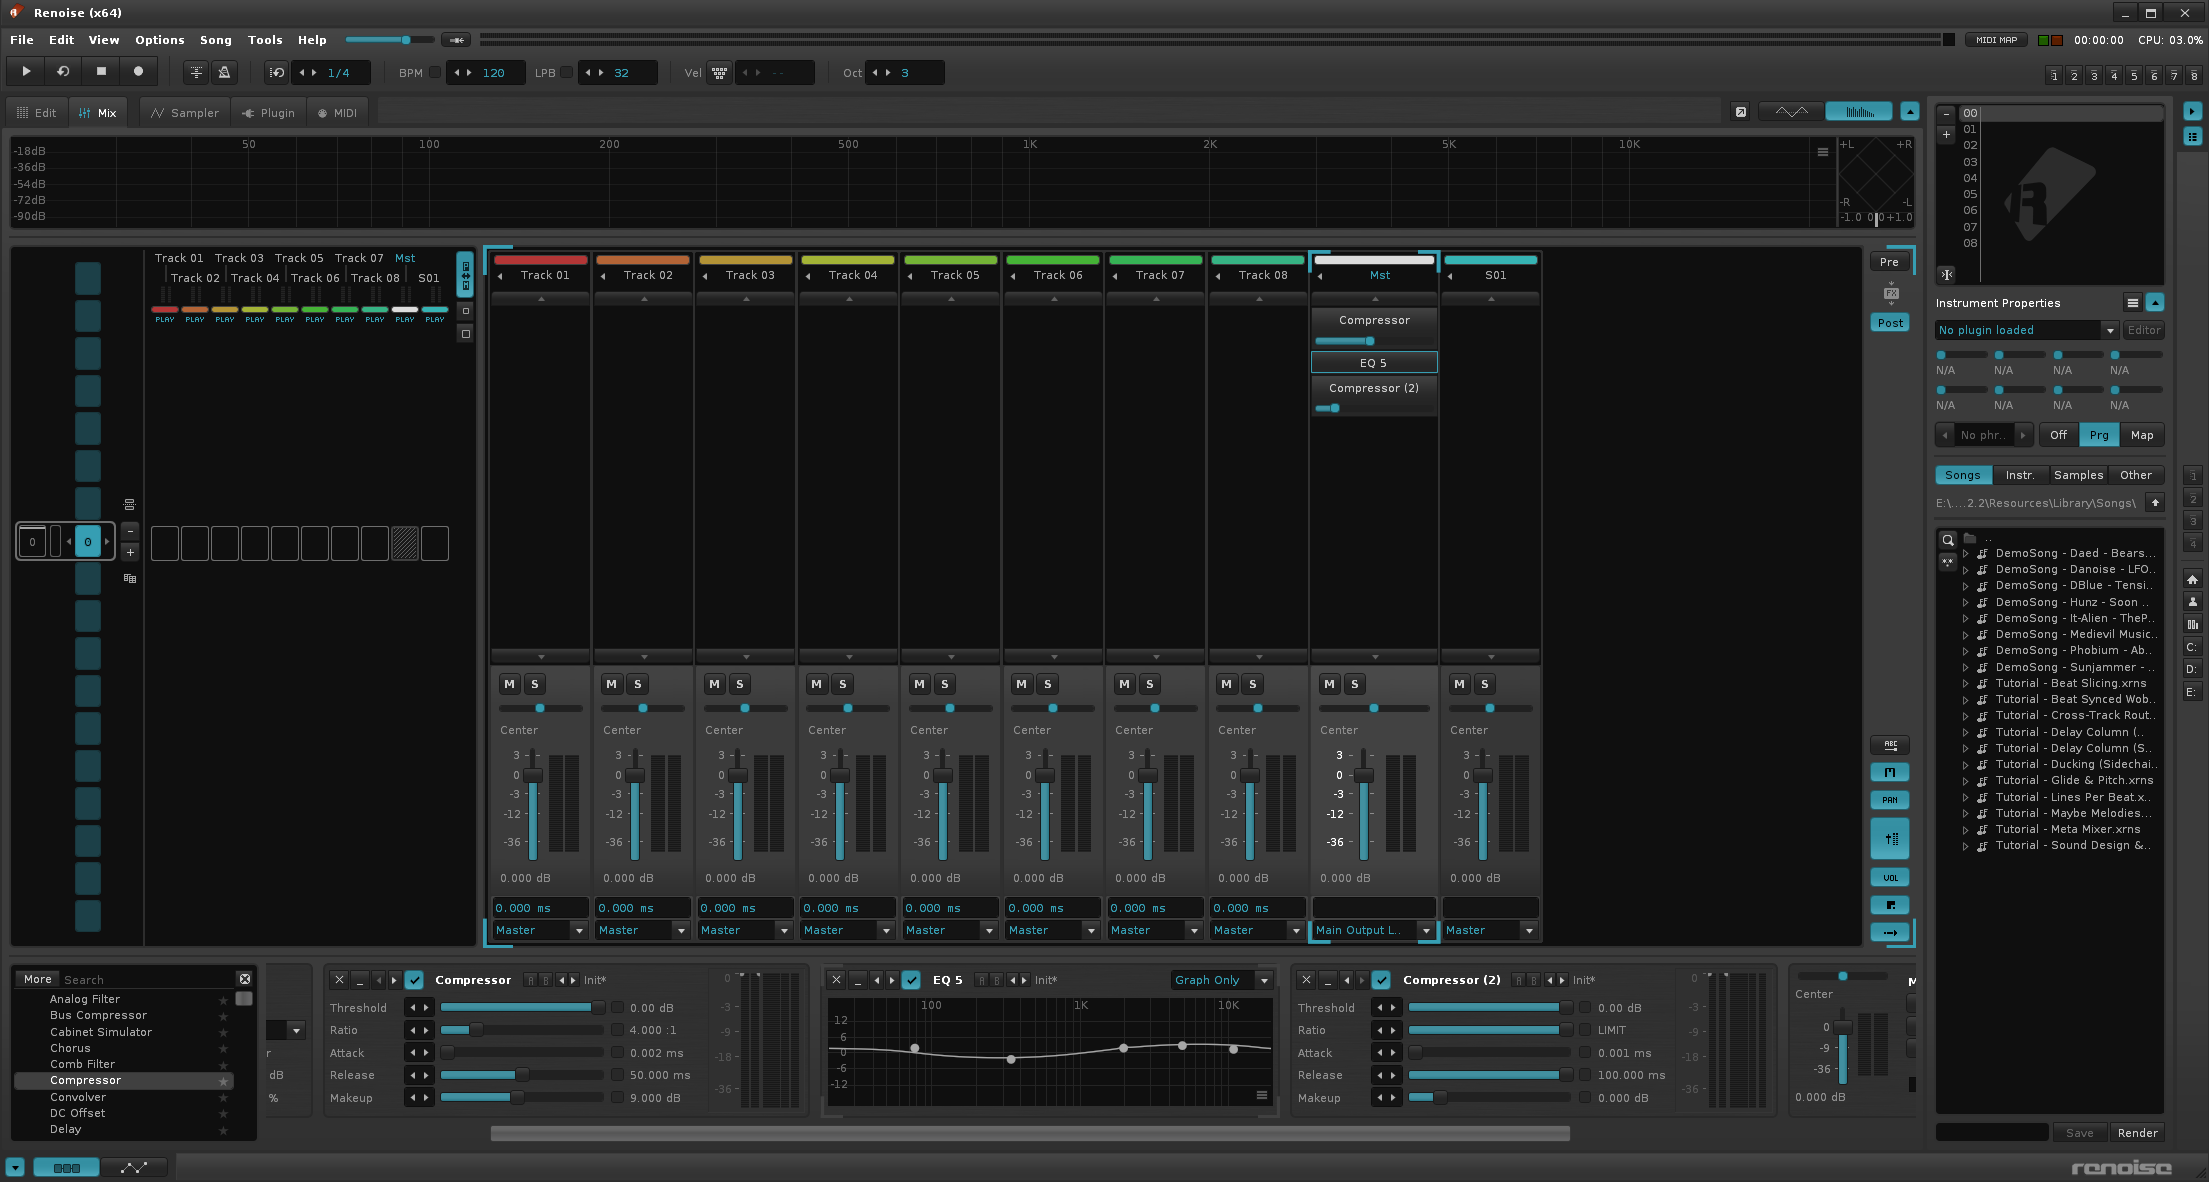
You have to, “tease,” the sound of compressors. The Renoise comp is a very clean, transparent comp. I use it lot for bass, where I want a nice, clean comp… lol…
Here’s a quick song file that shows how compressors (the Renoise comp specifically), can be used to fatten up the sound…
Play one group at a time, while leaving the other groups muted…
Renoise definitely is a cleaner audio environment, which is WHY I love it Squashing, now I understand your definition better. Well… yeah, I don’t hear a squashing sound in Renoise natively, so maybe some improvisation is necessary. When I’ve squashed sound in other DAWs, it’s always been a ‘character’ effect, so, a very subtle timbral change as well as compression.
Maybe try some nearly unnoticeable filtering, and maybe it could be triggered via envelope; maybe it could be linked to the compressor somehow? Another thing you could try (I was skeptical at first myself) is adding the distortion unit before the compressor and then working it at such low levels that the sound gains harmonics but doesn’t distort, an extremely subtle saturation. I’m talking 5 - 10%. Not distortion, but a harmonic boost.
That’s where Renoise really shines for me, mixing-wise. It’s so clean that you don’t have to subtract from the sound, but build it up. These are the things one should fiddle with on the days composition is slow. A/B sounds, work on wacky effect combos, design mixing collections to emulate sounds you’d like to hear.
I checked out your example but there was almost no compression applied.
The ‘threshold’ was up high on the compressor.
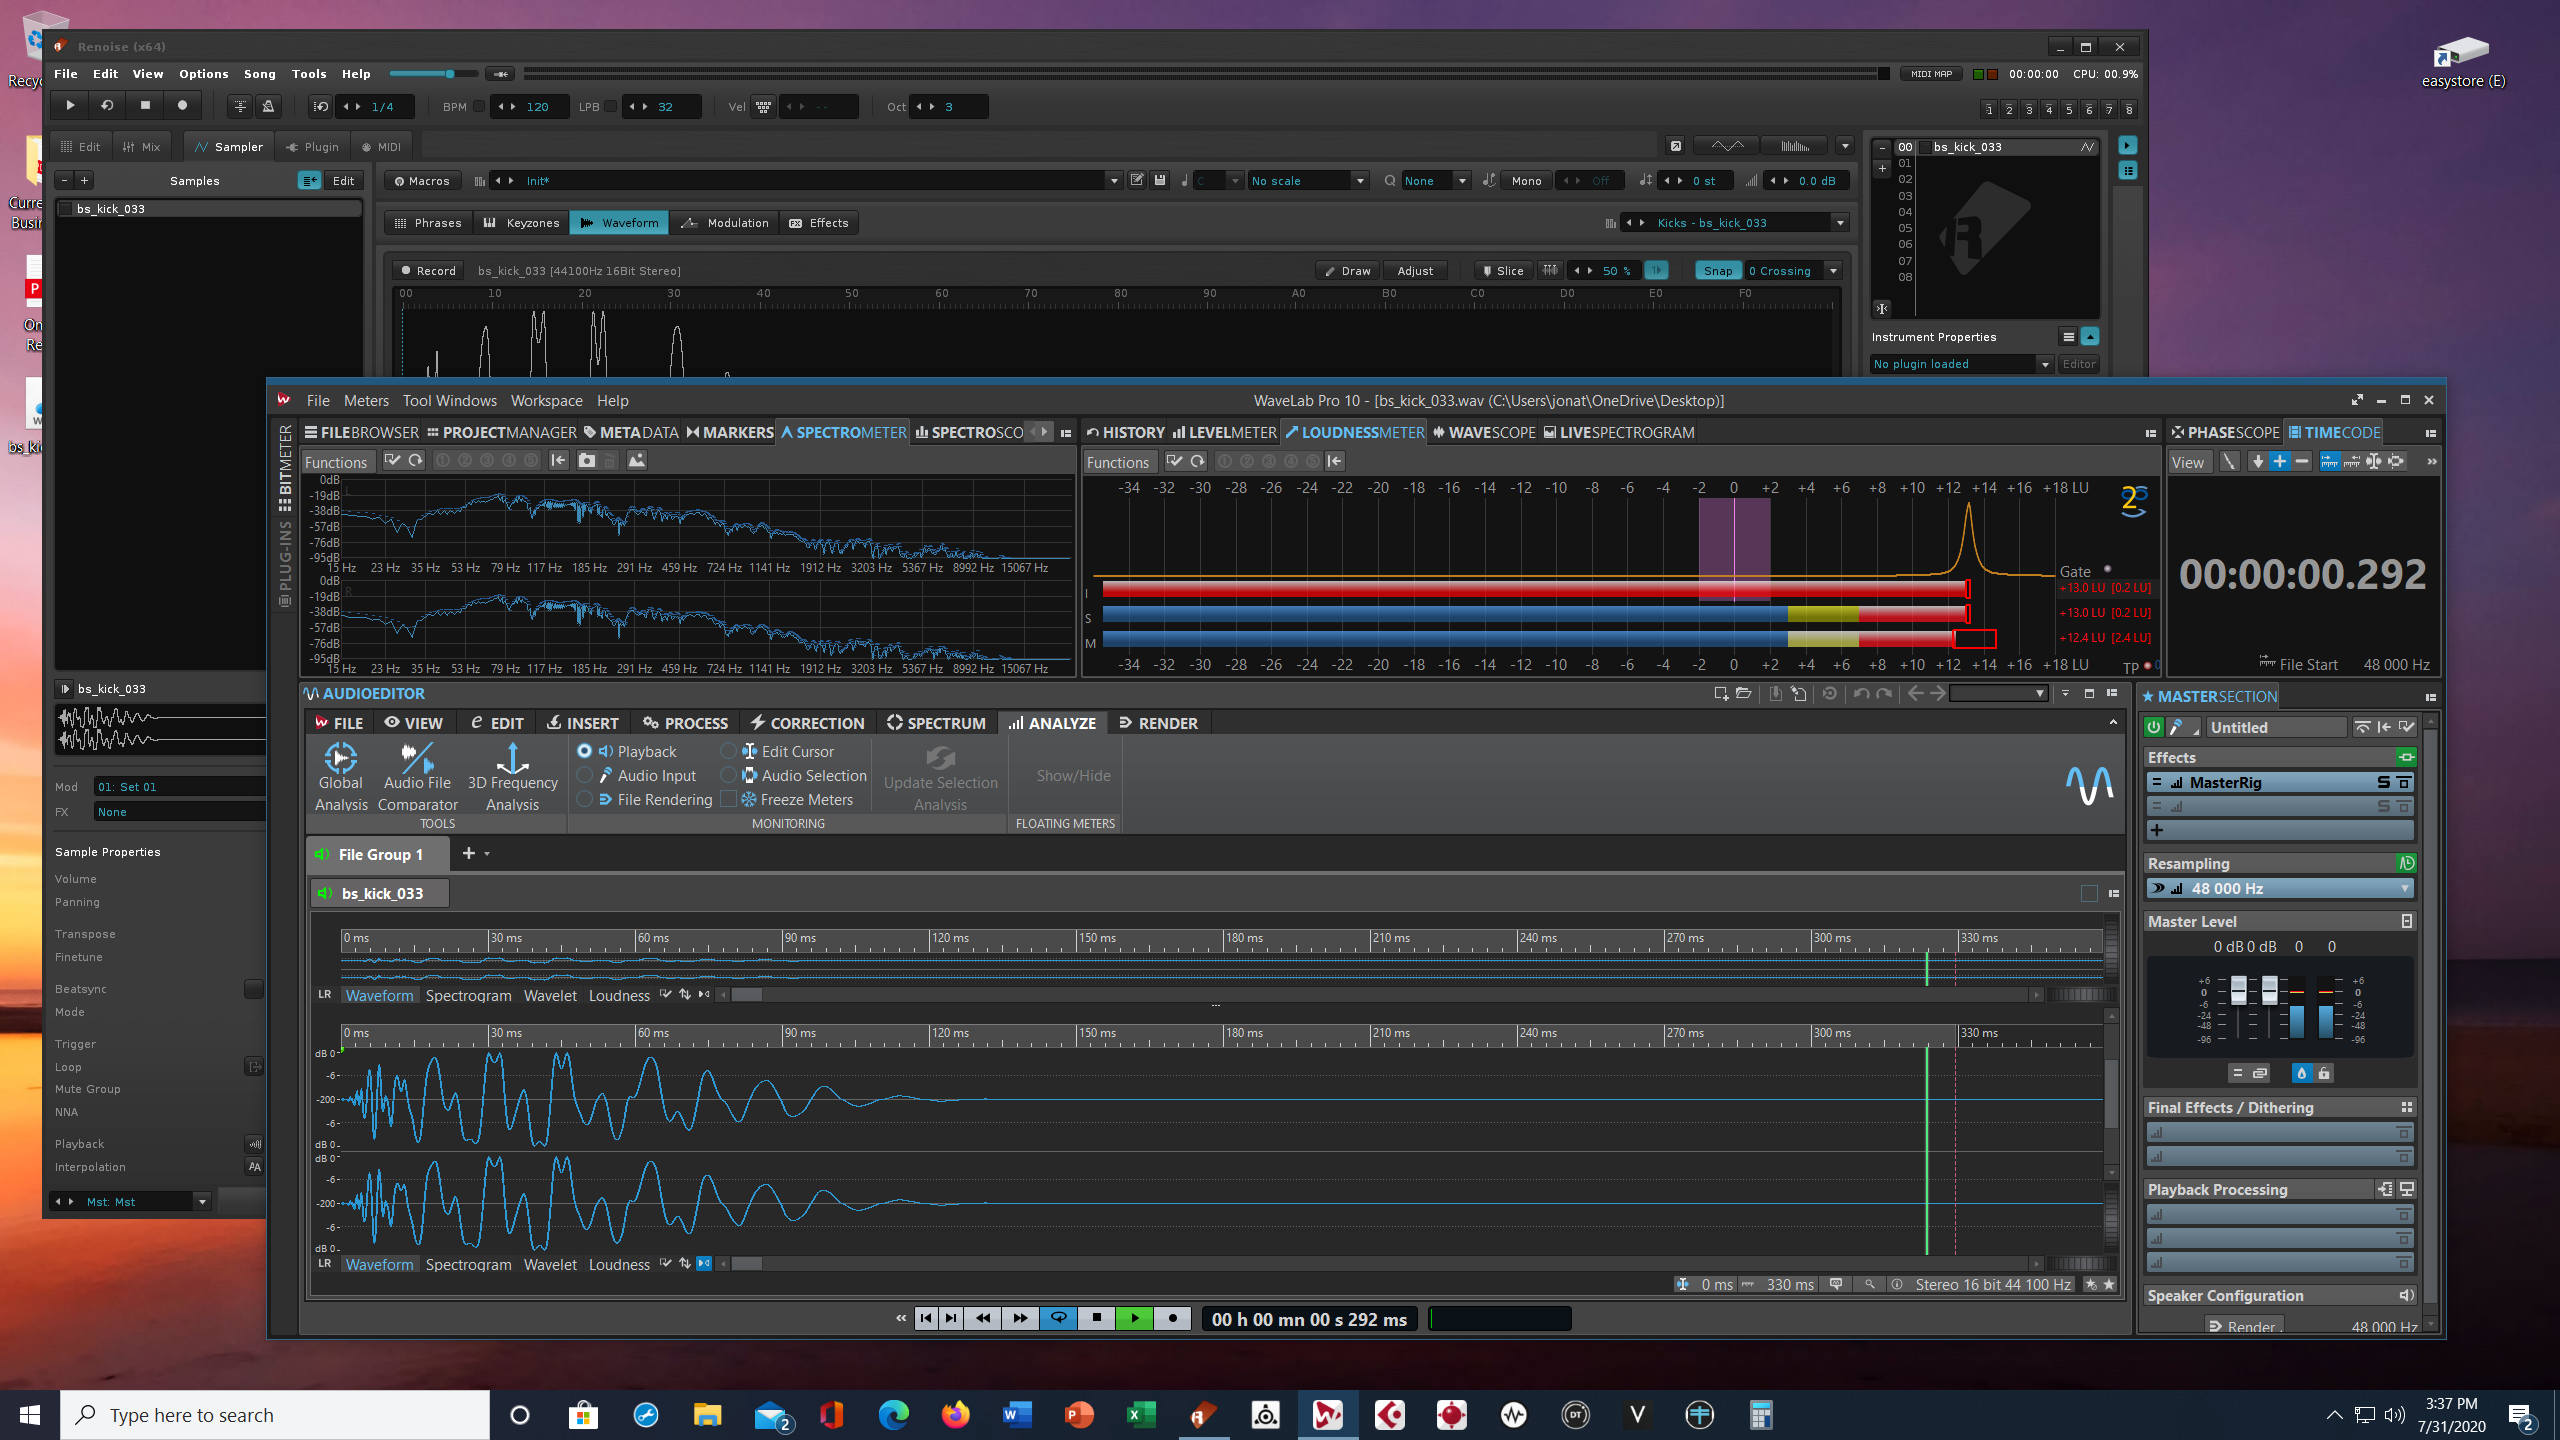
If I use the kick drum on a new track, add a compressor and bring the threshold right down so that there is a lot of compression applied, when I render to wav and compare it to the original sample after both have been normalized in the sample editor, there is no difference.
The compressor only changes volume.
It does not squash any peaks, it doesnt cause any difference to the waveform except a change in volume. The compressor just lowers the volume, the makeup gain just brings the volume back up again.
As far as I can see its not subtle compression, its no compression.
I totally agree that all the other effects in renoise are excellent for shaping sound its just that Im pretty sure the compressor does nothing at all except for lowering the volume.
In the compression tutorial file… just because you do not see the threshold coming down, does not mean the compression isn’t on… It is on, it is working, it is changing the way the waveforms render.
Render each group as a separate audio file, and compare in something like Wavelab…
This is the thing with the renoise compression. It doesnt change the way the waveforms render, except by lowering the volume.
I appreciate that you took the time to provide an example, Im not trying to be difficult or troll anyone but try it and see.
Normalize a sample with a load of spikes/peaks sticking out in it, apply the heaviest compression you can with the renoise compressor then render selection to wav, normalize and compare the original sample to the ‘compressed’ sample.
There is no difference. All the peaks/spikes in the waveform are the same, no compression has been applied. If you can prove me wrong ill be happy about and accept I did something wrong with the compressor but for now Im pretty certain renoise compressor does not compress.
It might be an easy thing to miss because it would be normal to assume that the compressor compresses, but it actually only lowers volume. Im pretty sure about that, looking at how it affects waveforms (nothing but volume lowering).
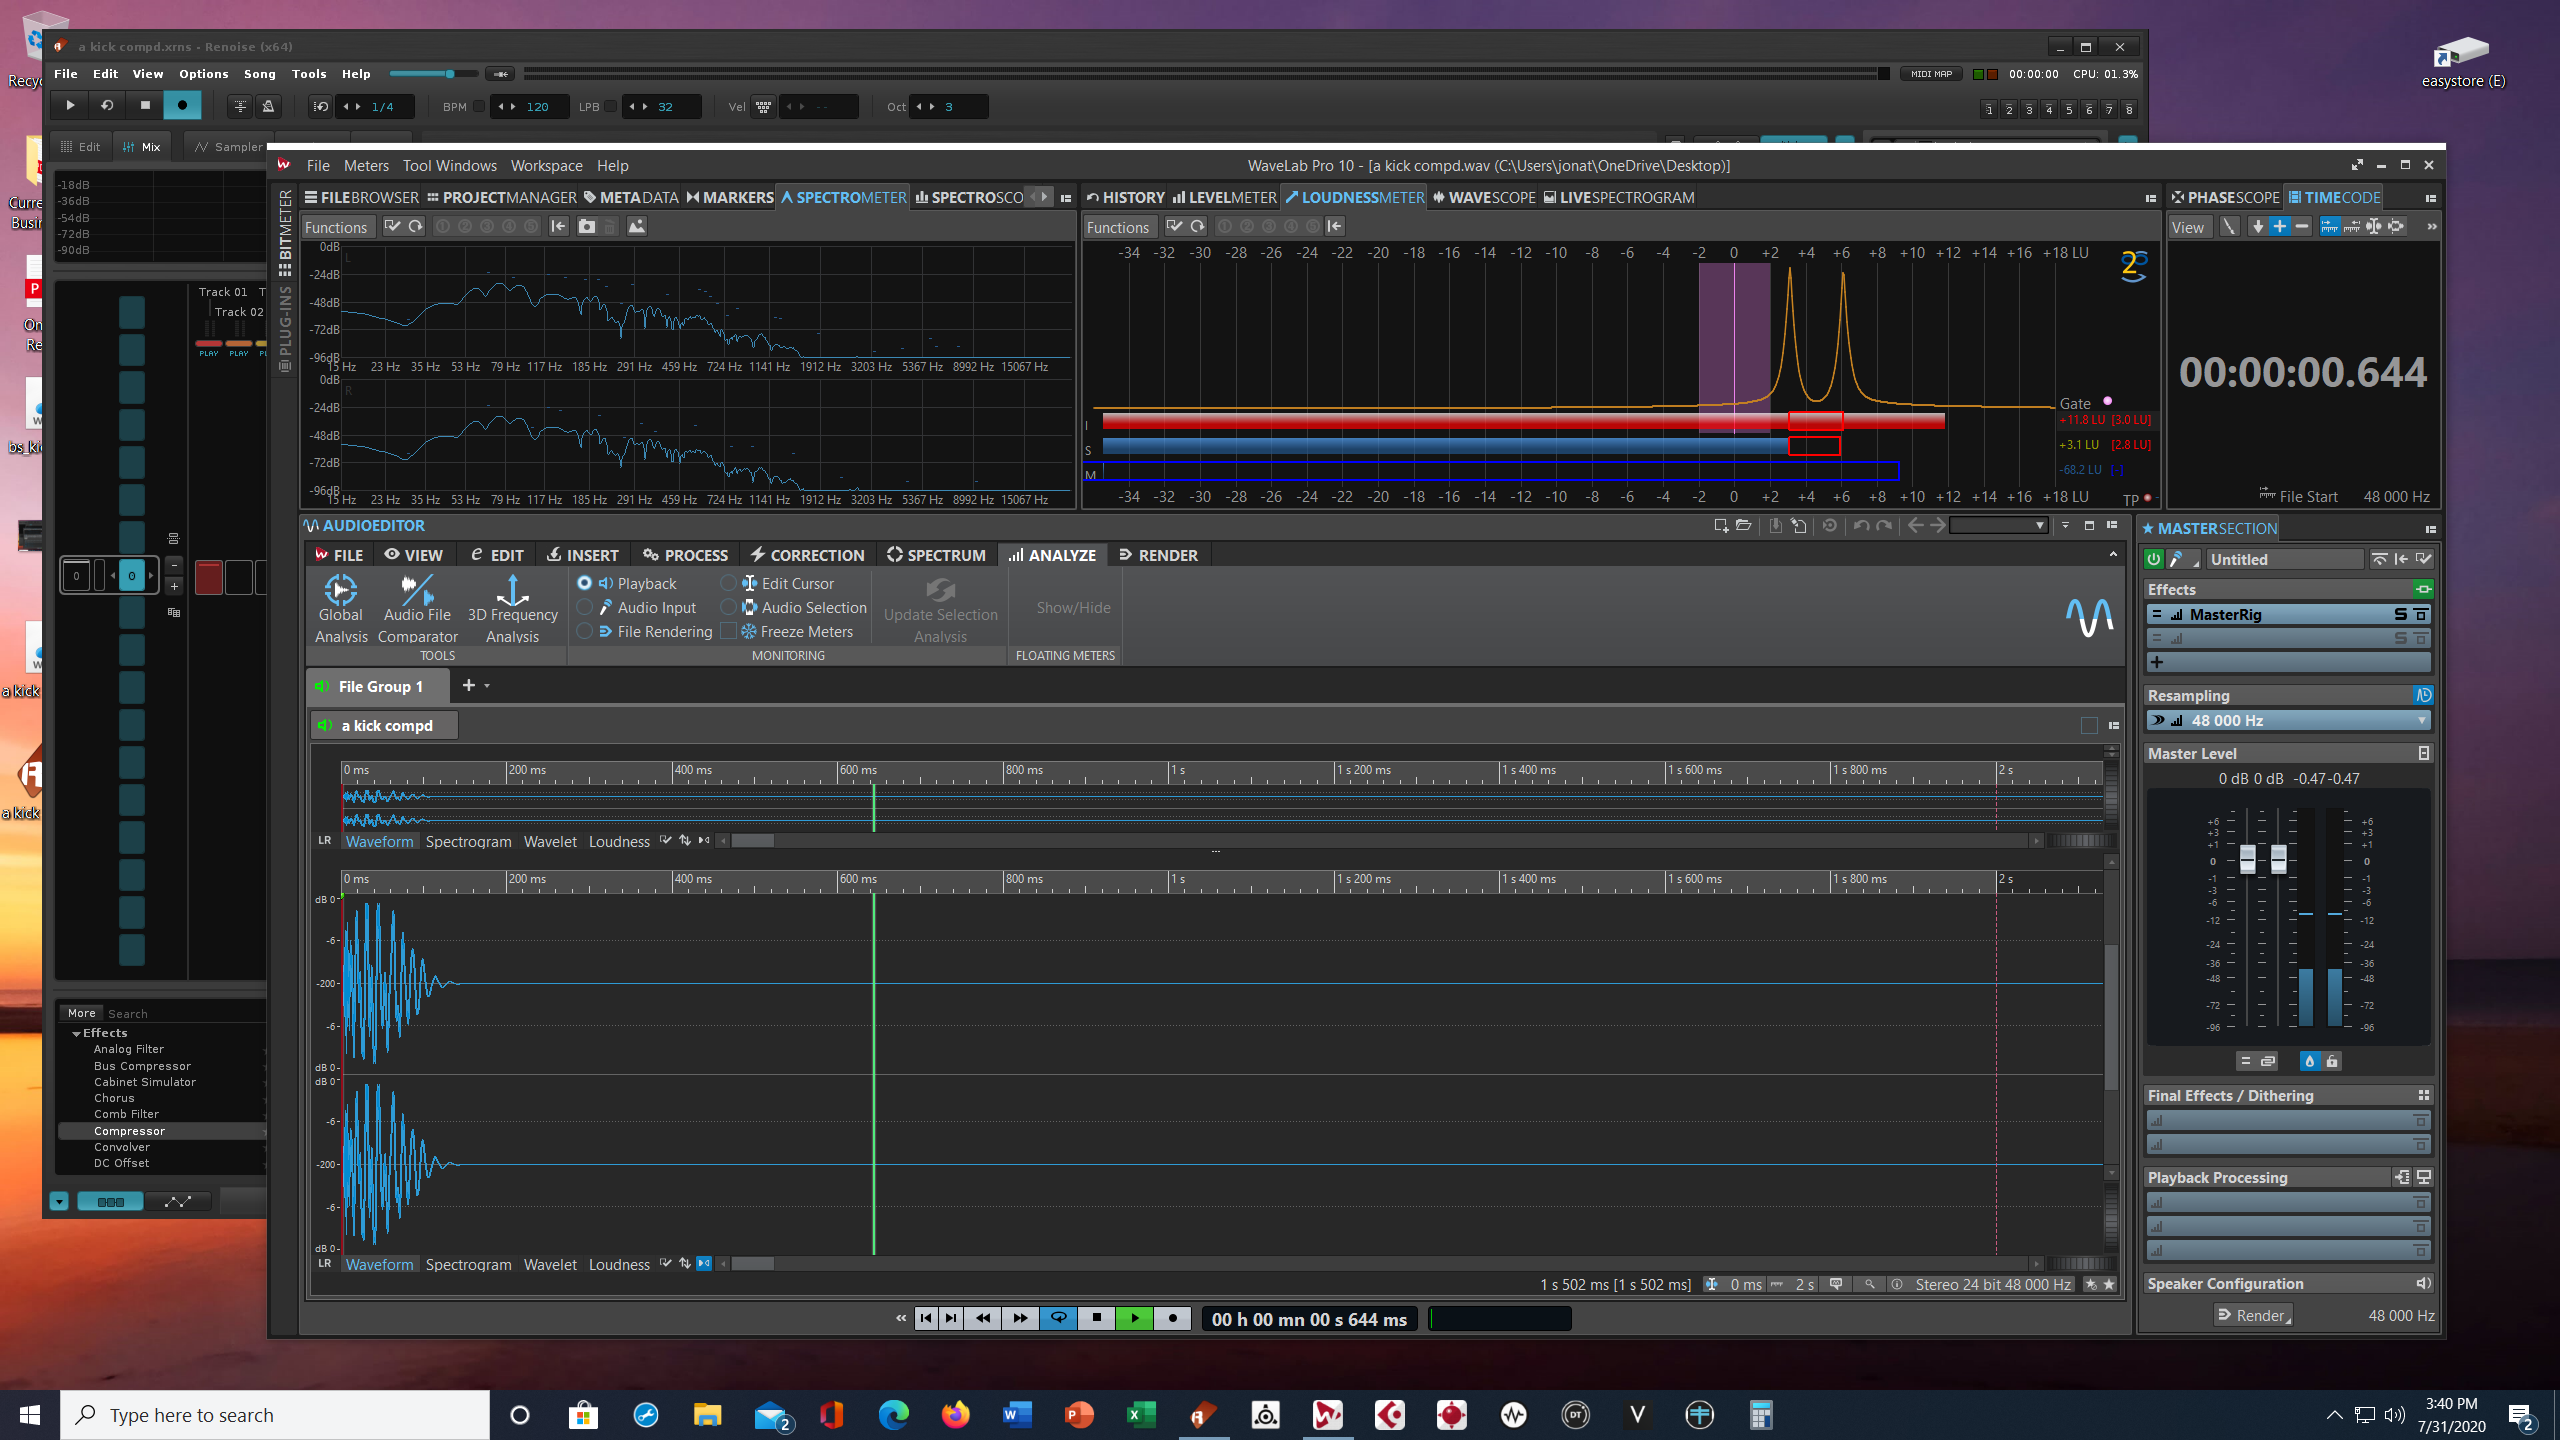
Its just that I’d left the ratio slider where it defaults to at 2.000:1 and the compression effect is subtle at that ratio.
After normalizing the original sample, rendering selection (16 lines) to wav, then adjusting to mono…
Applied more extreme compression
threshold : -25.29
ratio : 15.000:1
attack: 10.000ms
makeup: 3.000db
rendered selection (16 lines) to wav, adjusted to mono, normalized.
Yes, I can see extreme compression effect on the waveform.
Thanks.
Should be good for layering up two drum sounds, glueing them together while fattening them and allowing for more volume.
I thought I could hear noise from dithering being boosted after compression but its not. I turned dithering off in ‘edit-preferences’ did the test…its just noise that was inaudible before compression (its a glitch sample).
excellent, renoise compressor has no problem. Its good to know.
Basically I needed to bring the threshold way down and the ratio way up.
 Squashing, now I understand your definition better. Well… yeah, I don’t hear a squashing sound in Renoise natively, so maybe some improvisation is necessary. When I’ve squashed sound in other DAWs, it’s always been a ‘character’ effect, so, a very subtle timbral change as well as compression.