Mixing - what is the best approach to set volume & panning?

Hello, I’m new to Renoise. Prefer it so far to other DAWs because I’ve messed about with trackers a bit back in the 90s. FWIW, I’m mostly interested in creating heavy rock / pop songs and want to make sure I can get the balance right (not sure if this is relevant, but it appears some electronic music genres are heavy on channels and effects than others and need every trick in the book - I’m glad with straightforward, clear and balanced).

My question concerns with mixing channels, specifically volume & panning. From what I can see there are a plethora of places where you can set the volume & panning of a track, or instruments in a track, especially when using VST instruments:

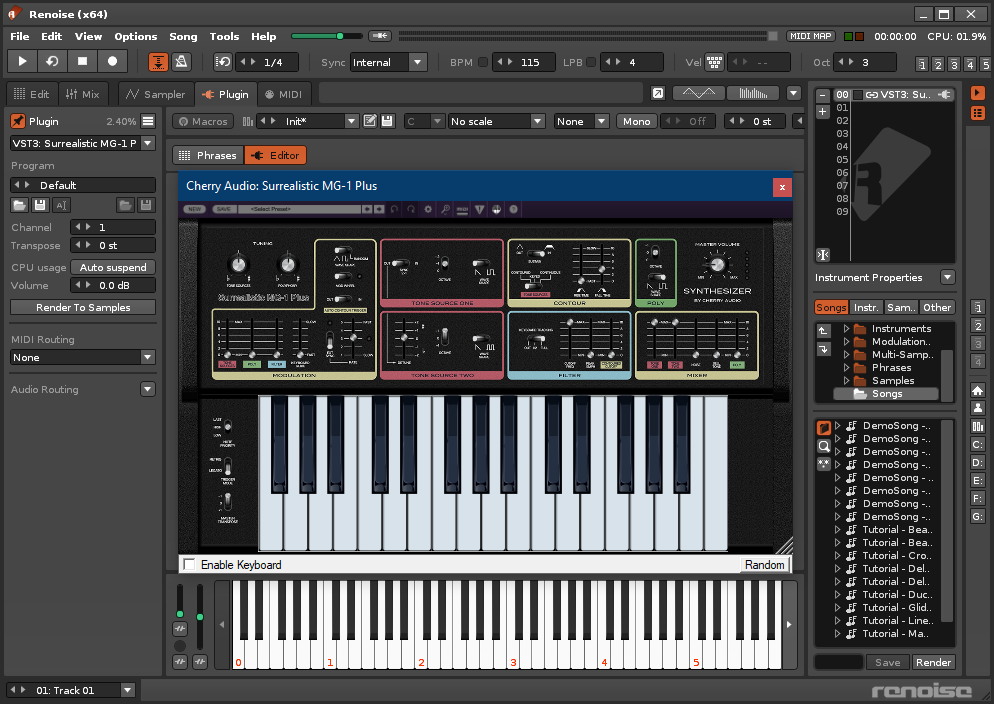
  • Not counting key velocity, there are often volume and panning controls in the VST instrument itself (not to mention there can be multiple instruments in a channel, but I prefer to dedicate channels to instruments)
  • You can set the volume for the channel in the pre mixer…
  • And then again in the post-mixer before it goes to master / another bus
  • You can set volume & panning in any bus, affecting whatever is routed through there
  • You can set volume & panning in some of the effects, either native or 3rd-party plugin, that comes in between pre- and post mixers.

I’m utterly confused what the correct workflow should be when I get down to mixing, the sheer number of options feel like mixing could end up in a tweak without end.

I’m interested to know if there is a flow or if there are tips to keep things simple or manageable - like not bothering with volume and panning in certain places, or maxing out values in mixers.

Thanks for reading =)

Hi,

I would always control the volume of an instrument at its source. In case of a VST select “Plugin”, load a plugin and then you’ll notice the “Volume” control at the left. There you go:

It’s the same if you’re using samples, but of course you have to click on “Sampler” instead of “Plugin” in that case. The “Volume” control is at the left below “Sample Properties”.

I would never change the volume of the track itself:

But if you need to change the panning of a track while using a VST instrument, this is the place to do so. I would recommend using the automation.

If you need an instrument to get louder and the source is already at its max, I would add a gainer to the effect chain and push the volume by using the gainer. But primarely it has to be done at its source. You can simply ignore every other possibility. It’s nice to have more options, but it’s not really necessary and in most cases it doesn’t make any sense. Once you’ve got the mix you wanted you can finish your master in your master track, therefore use clipper, maximizer or else. I guess you know how it works. :wink:

2 Likes

I think the idea is that you should have as few gain staging / panning as possible. Each change requires computations which introduce rounding errors. Probably not too bad with high bitrate settings but it used to matter. So, while composing you set everything roughly how you want it in the VST/Sampler itself, as this is the source. For example, the plugin itself’s volume and panning settings, or the sampler’s sample settings, while leaving the mixer and instrument settings zeroed.

I even wonder if the instrument setting’s volume setting is there just to be compatible with tracker formats, as with the gainer available ( which imho is basically to be used as an effect, ie ducking/sidechain, macros etc ) it seems, as you noticed, there are already so many options to change volume.

Not sure if this is still the case, but I remember learning it’s always best to reduce the volume of everything else ( within reason, obviously sometimes you must raise ) than to boost something over 0, for the computational reasons mentioned earlier. The same with EQ, best to lower unwanted freq’s to make the desired ones stand out instead of boosting the ones you want. I’m not sure that is still the case but it made sense at the time.

Then, when final mixing / mastering, it is much easier to use the mixer’s controls to fine tune the track.

Maybe a programmer could chime in.

1 Like

Thank you for your elaborate answer TNT. And providing pics even. :smiley: This simplifies things significantly for me. :+1:

Reminder to self, call it a track not a channel.

Um, I will cross that bridge when I get there :smiley: But from what I gather mastering should be less work than mixing as there’s only one (stereo) output to work with.

Mixing and mastering are both new to me but I know they’re very important so I’ve been deep diving for information. I understand they’re super fun jobs to many people, but I can’t afford to spend too much time on them. So thanks again for the tips!

Thanks! I was unfamiliar with it so I looked it up, but it makes sense, it’s about keeping volume levels in acceptable or expected ranges when panning. I’m going to trust that the plugins or the effects are smart enough to deal with that, if not, then some more attenuation is needed. It doesn’t sound like a big mixing issue.

This is my workflow if it helps.

I try to keep track volumes at an average peak value of -6dbdb with the mixer volume set at -6db. This allows me to have enough headroom for increasing the volume in the mixer if I need to, without worries of clipping. So with a source at -6db and the mixer volume set to -6db, I get -12db of headroom, with a range of -6db to 0db from the mixer fader to increase volume safely.

I start at the source, in this case if a track is for an instrument device, I adjust the volume within the instrument until it peaks at around -6db on the meter (still keeping the mixer fader at -6db). Same with audio tracks. While there is not concept of audio tracks in Renoise, on a general sense, if I am working with a DAW that has audio clips, I adjust the gain of the audio clips so that they too only peak at -6db. Renoise’s pre-mixer is a good candidate for doing this.

For any track that has a chain of effects, I try to keep the audio coming out of the chain at the same peak level, because I don’t want a distortion->chorus->delay chain to be louder or quieter than the original source, and this is to keep a mix consistent. For that I use the effect’s volume parameters to adjust levels, and I do that for every effect, so from source->distortion, audio most peak at around -6db, from distortion->chorus, audio most also peak at around -6db, etc.

The mixer volume is then used to balance the volume of all the tracks within the mix, and I normally do not mess with the master volume at all.

As for panning, I usually do not mess with that at the source, so an instrument or audio source will have pan at 0. If I need to pan anything, then normally that’s done in the mixer. But there are situations where panning at the source is useful, for example if I have a stereo source and one side is louder than the other, then I would pan that to balance it out. And of course there are also creative decisions you can make with panning through an effect chain leading to the mixer, including creative panning at the source.

1 Like

Thank you kingdoobie.

I hadn’t worried about computational power yet, or the weight of mixing. From what I can see so far the big CPU eaters are plugins, both instruments and effects. I’m not too worried about volume attenuation eating away resources, but I do like the suggestion to lower unwanted frequencies / instruments rather than maxing out the ones you want to hear. You’re right, will save on having to solve clipping in the final mix. Making notes =)

One advantage I can see now for using the instrument volume is that you don’t have to open up the VST interface instead to tweak it.

Awesome detailed workflow insight rburgosnavas. Appreciated! I see there is a reason to adjust volume to keep the output levels the same, good point, also with regard to panning. I assume this -6 db is a sweet spot you’ve come to by experience.

I do have a follow-up question though, now that I come to think of it. Attenuating to -6 db probably isn’t much, but I remember from early trackers that reducing volume could degrade sample quality because you start losing details, the samples are flattened. It makes sense of course, even in a studio reducing an analog signal would result in quality loss. Aren’t you compromising on instrument sound quality by attenuating so early in the process (at the instrument)? I’m guessing adding gain at a later stage won’t fix it.

Renoise deals with floating point audio internally, so you’re not likely to run into any audible changes no matter how many gain and panning stages you have. The older trackers mostly used integer-based processing, with which it’s much easier to run into artifacts.

2 Likes

Hi @BlueNote and welcome to Renoise.

Where to set panning and volume? In my experience there is no right or wrong to this. Whatever is convenient for you. But think about your work flow and what you want to achieve?

I like inserting gainers on tracks and automating the volume and panning that way. So I can easily bypass my automation by disabling the gainer, or deleting it. This is especially convenient for me if I want to export the tracks to do a new mix in another daw.

At the same time setting the volume and panning by their sample commands can be incredibly powerful and a major part of my music. Renoise’s sample commands are definitely worth exploring when using sample instruments.

Anyways, some additional things that come to mind that I try to use/do/ adhere to in my own work:

If it sounds good, it is good. Nobody cares how you got there. The end result is the only thing that matters.

Mix in mono. It’s less fun but it forces you to make careful EQ and volume moves to make all the pieces fit together. Once it all sounds good then proceed to panning.

Having a good, punchy mix and a loud master starts with a strong arrangement.

Be bold, be brave. Dare to make choices. Not everything has to play all the time. And volumes can shift. One moment it takes center stage. A little later that same sound plays a supporting role in the background.

Get your bass and kicks in tune. You can waste a lot of energy and loudness potential if you don’t.

As @rburgosnavas mentioned already, headroom is your friend. Making things loud and proud is easier to do when you have dynamics in your mix.

As he also mentioned, check the effect of effects at the same apparent loudness. So you can really hear what’s going on. And not he fooled by the fact that one signal is louder than the other.

Hope this of some use to you. Happy music making!

1 Like

-6db is my personal sweet spot for now. I’ve read of other people aiming for -12 and -18db, and apparently there are advantages to -18db with respect to using analog emulations of things like compressors and EQs, but that’s a more specific subject. But I believe that whatever peak level you aim for, at your own taste, the point is to give yourself headroom and consistency in your mixes.

As @spinesois pointed out, any modern DAW will allow you to adjust volume without loss in fidelity. Nowadays this is only an issue if you are still using applications from the 90s or early 00s. Any modern DAW allows for my workflow without quality penalties, whereas if I was using Cubase 3.1 or an early version of Buzz, then I would have to be more mindful of signal-to-noise ratios and whatnot.

1 Like

Hehe, you can also call a track a channel like many old tracker dudes do, including myself. :wink:

Yes, you’re right, mixing takes more effort than mastering. But if you want to keep it simple without spending too much time, just trust your ears (of course you need good headphones/speakers). It may help to activate auto adjust (which you can find right next to the global volume at the top left). VST instrument output or volume is always 100%, adjust instrument volume via “Plugin” or “Sampler” as described above and when you’re mixing, mix in mono first, just like @eretsua suggested. Therefore you can add the “Stereo Expander” at the end of the effect chain in your master track and adjust it to mono, and you can easily switch between mono and stereo this way while mixing. At the end everything has to be audible both in mono and stereo, and your ears will tell you how loud which instrument has to be.

2 Likes

Interesting. Unsure how that pans out exactly (unintentional pun there) but floating point will indeed have more precision. Cheers.

Thanks @eretsua, as I understand you it’s more votes for headroom, gainers and keeping the loudness intact between effects. I like the suggestion to mix for both mono and stereo, makes sense for mixing (and I suppose again at mastering). I’m not afraid to experiment though, can be fun. It’s more a matter of too many sliders for the what looks like the same purpose. It’s hard enough choosing VST instruments already.

FWIW I’m quite familiar with the fun stuff you can perform at the pattern level when it comes to sample effects, it’s akin to Impulse Tracker which is the last tracker I used (previous century though). I guess that comes into play nicely again if I decide to buy the full license and can make use of converting an instrument to its samples equivalent. :slight_smile:

Do you mean sidechaining the two using a compressor?

1 Like

I’m going to combine responses a bit, I’m spamming the topic with too many individual replies.

Thanks @rburgosnavas, clear case for headroom. W.r.t. 90s stuff, I don’t even think I can run such old applications anymore unless I’m using a DOS box. And I’ve thoroughly outgrown the clunky interfaces of the time anyway (not to mention the endless hardware configuration).

@TNT nope, ‘tracks’ it is, got to keep up with the times. :wink: And yes that summarizes it nicely. A good headset is the next chapter, the problem won’t be so much finding one but selling the purchase to the wife. :smiley:

You’ve all been great help people, I’ve got more response than I could have hoped for and a whole bunch of good suggestions to get me started. Thanks a lot!

Side chaining the kick to the bass can be incredibly powerful indeed, but that’s not what I’m talking about. What I’m on about is that the fundamental, the pitch of your kick is in tune with your tune.

1 Like

I had to look that up, never realized drum kits can / should be tuned. I’ll be working with either a VST or a preset of samples, but I’ll keep it in mind from now on, thanks.

1 Like