You’re right, BUT if you mix in mono first your stereo mix will benefit from the mono mix AND you’re achieving a proper mix way faster. So in the end it’s not a waste of time to invest in a mono mix, it’s quite the contrary because you’re saving time! ![]()
I think that mono mixing has additional benefits other than good mono playback. It is the minimum spatial resolution the music can have, thus no matter how well the stereo image will be for the listener in the end, the mono mix always shows you what will be in the foreground in any situation for the listener. Think of listening to speakers, and then turning one ear towards the middle of them, the other opposite…you still get some spatial cues due to room effects and lateral location abilities, but it won’t be optimal. But you will still be able to clearly hear what is in focus when you listen to the mix in mono. Then any spatial effect can be viewed as sugar on top and bringing more depth to that image. Ofc with proper stereo you quasi add another dimension you can hear by and gain much more resolution, but this also brings the risk to make mixes that aren’t clear anymore under suboptimal conditions. Also don’t forget that as a producer we use pristine gear and perfect stereo imaging, but many listeners won’t have these conditions. Making the mix translate well to mono (or lack of bass…) will help with making sure people will get something nice to hear no matter how crappy their gear is.
One bell for each band, couple of EQ10s in serial.
Yeah a critical band tuned eq is probably a neat thing to play with. I remember a special EQ plugin that worked like this, with one peak/notch per bark scale band. But you could also move the position of the peak/notch inside the band, which is important to fit multiple sounds together in one band and to make them more distinguishable from each other. If the peak is going towards the upper frequency side of the band, the sound can have a compressed/intense/congested/lucid/bright quality. If the peak is going to the lower side of the bands, the opposite is the case, the sound will rather seem big/vast/powerfull/dark/dull/relaxed/wide/heavy. If the peak is on the border of two bands, then the sound will also gain power by it and seem kind of like the balanced mid, but more powerful.
before making a mix, it is worth understanding and learning to hear how sounds should generally begin to interact with each other. To do this, you need to learn to hear what is in the sound initially. In my opinion, from personal experience, this skill is easiest to get by starting to listen to your mix against pink noise. pulling every sound out of silence is the most accessible way to find where something is wrong with your sound relative to the rest of the mix.
Here is a video of live mixing of a series of loops
https://www.youtube.com/live/vJzbrplBGAQ?feature=share
My concern is that the way I do parallel processing might be causing phase issues… but I don’t know. I don’t think I have the ear to pick up phasing problems.
Mixing multi track recordings truly is a lifelong concern for me… I’ll never solve the mystery!
I bought UVI Shade, for me it seems to be the best available mixing EQ. The GUI and the workflow seems to be even easier than in Pro-Q3, and more precise. And then it can do a ton of another stuff, plus has resonant variants of most filters. Also it seems to be very efficient, loads and opens very fast. The dynamic mode works very good so far, too. Highly recommended. It is on sale.
where is it on sale, and for how much?
looks dope, but it’s hard (for me) to justify throwing money at plugins these days
Agreed. I only bought it because of this bundle for 89: UVI Special - FL Studio
But now I am quite happy with it. The other stuff in the bundle, I don’t know. That reverb sounds aged. You can install a demo of UVI Shade from the uvi webpage (scroll down).
nice. thank you!
I just have seen another video that shows some very useful things:
I would recommend to check especially the saturation “trick” at 6:32 and the vowel sound to distinguish and to identify several frequencies in the mix at 9:05.
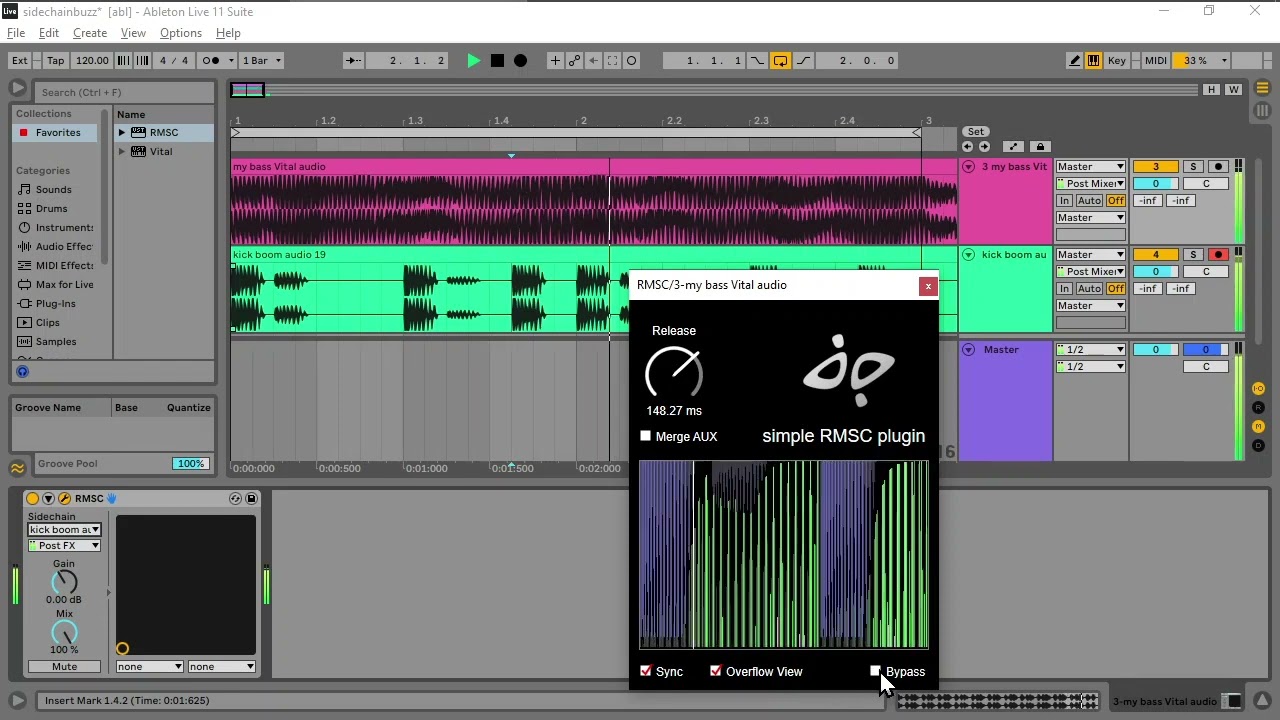
Want to side chain kick and bass kickstart 2 style:
It activates the compressor but with an envelope that syncs to tempo. Anyway to replicate this with the native compressor and side chain device?
I think the best way to replicate that is with this method:
KeyTracker → LFO → Hydra
Keytracker–>lfo–>hydra Thanks, i have kickstart 2 as well. If there is a way to do natively then that’s my first option.
It’s easier to just use kickstart then…
Would be sweet if it was possible to make Devices with Tools then we could make a fancy little ducking device.
Maybe this has been mentioned before but… I use the Sigal Follower → Hydra → Gainer on what ever track I want to “side-chain”. And of course you can also route the Hydra to specific EQ bands, for example. Setting up the right volumes can be a bit fiddly but you just have to evaluate it by ear, not with numbers. That’s a generally good idea anyway. ![]()
It takes a bit of setting up, but you can use Signal Follower on the kick and send it to the EQ on the bass channel and notch out the fundamental a bit as well - you can then add a key tracker to the bass channel to change the EQ frequency based on the note played so no matter what notes are playing, youre always ducking the fundamental.
This had never really occurred to me, yet is really quite simple to setup in Renosie! Great tip! I neglect the native modulation/utility effects in Renoise far too much ![]()
When i read this i was thinking about my 96 band equalizer doofer where each slider is tuned to each note over 8 octaves. It’s supposed to be downloadable from https://files.renoise.com/forum/downloads/ , but i can’t seem to access it now for some reason? Has it been shut down? If so that’s sad because there were lots of great resources there.


